An autoresponder replies automatically when a specific email address receives an email.
This is great to use when notifying customers you have received their email and they will get a response in a pre-determined time frame.
Step 1: Open your cPanel account
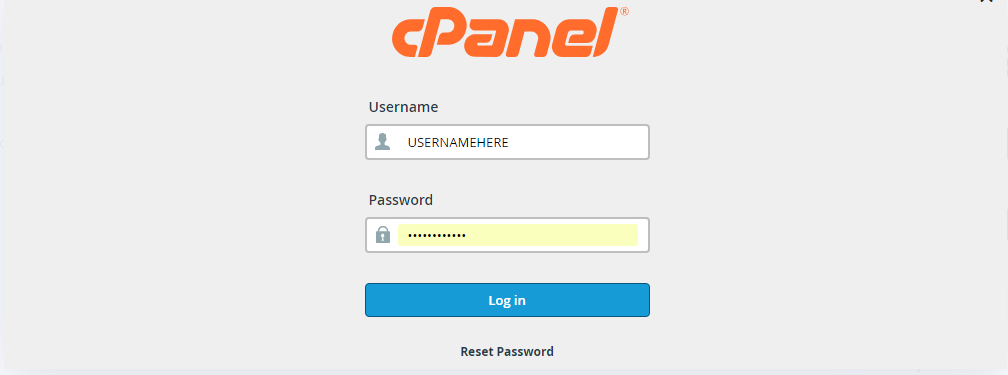
Open your cPanel account . e.g. ‘www.example.com/cpanel’ where ‘example.com’ is the primary domain name associated with your hosting account. Then, enter your login details and click ‘Log In’ to proceed.

Step 2: Go to autoresponders from the Email section
In your cPanel dashboard, navigate to the ‘EMAIL’ category and click ‘Autoresponders’.

Step 3: Configure email autoresponders
Next, select the domain name under which you want to create an email autoresponder for .Then click the ‘Add Autoresponder’ button:

On the next screen, enter your customization details. First filed Character Set’s value set by default is “utf-8”
you don’t need to change it. Then Enter the number of hours to wait between responses to the same email address . Input the first
part of your email address. For eg, if you are creating an autoresponder for tech@example.com, just enter ‘tech’ on the ‘Email’ text field.
On the ‘From’ field, enter a name (e.g. tech Department) then enter a subject of the email. In this case, I have used AUTO RESPONSE for demo purposes. You can change it as per your requirement for your business.

Enter the body of the message. You may also change the start and end date when your email autoresponder will work. Once you are done, click on the ‘Create/Modify’ button:

Step 4: Testing the setup
You can test whether your email autoresponder was setup correctly by sending a test email to the address that you have used above. If everything is working fine, you should see the email below:

