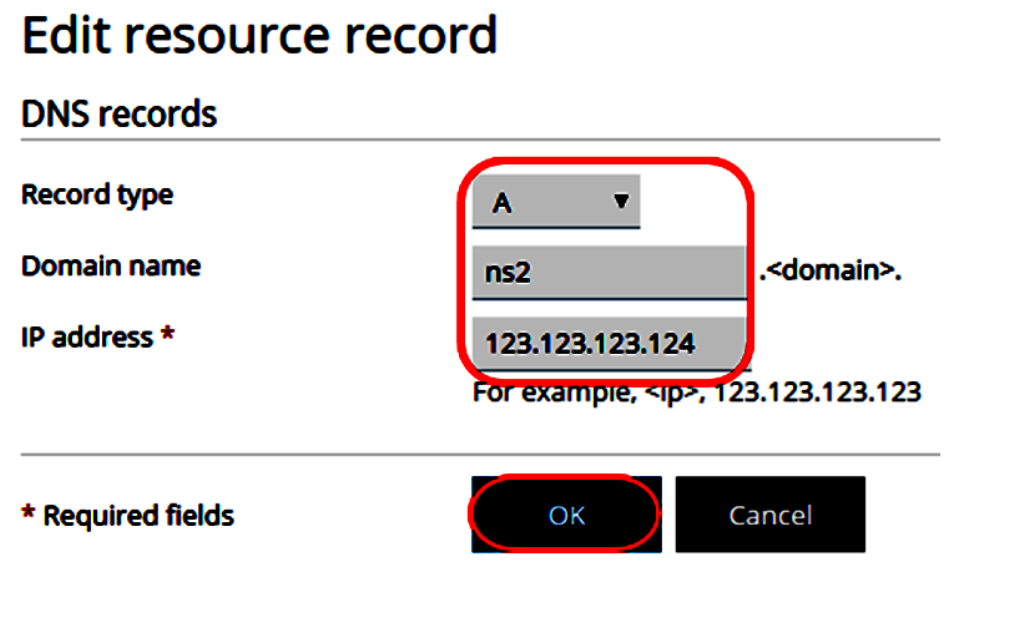
By default, Plesk will create one nameserver record. If you want to set up and use your server to handle DNS for your domains then it is recommended that you use two or more nameserver records. To add another nameserver record you will need to edit the DNS Template settings in Plesk.
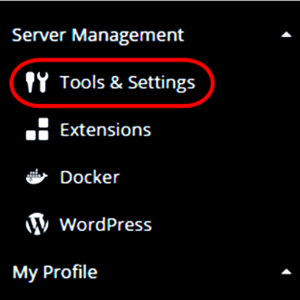
Step (1)-In your Plesk control panel, click on Tools & Settings within the Server Management section of the left menu bar.
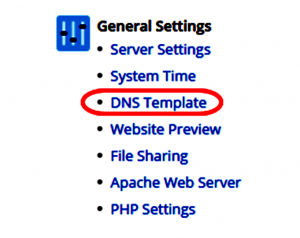
Step (2)-Under the General Settings section select DNS Template.
Step (3)-First edit the existing ns1 record by clicking on <domain> from the Host column.
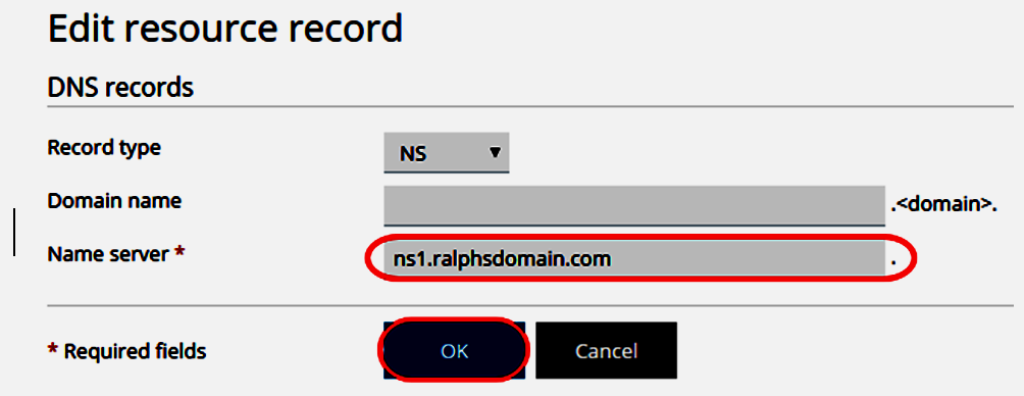
Step (4)-Enter your first nameserver in the Name server box and click OK.
Step (5)-Next edit the related A record by clicking on ns.<domain>.
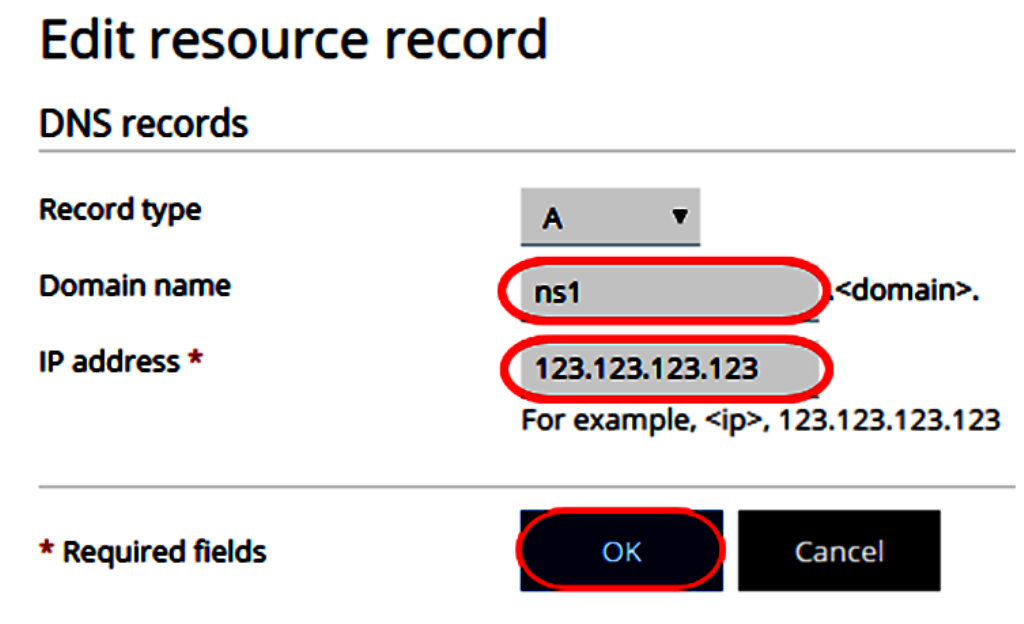
Step (6)-Edit the middle field Domain name to match the prefix value of your nameserver and enter the IP for that nameserver in the IP address box and click OK.
Step (7)-Click the Add DNS record icon to add in the NS record for your second nameserver.
Step (8)-Select NS from the Record type drop down menu, enter the address for your second nameserver in the Name server box and click OK.
Step (9)-Click the Add DNS Record icon again. This time select A from the Record type dropdown menu. Enter the prefix of your second nameserver in the Domain name box and the IP for your second nameserver in the IP ddress box, now click OK.
Step (10)-To save your changes click the link in the orange banner at the top of the screen.


