- ! Important : Only use this feature if you have a static external IP address. If you are unsure about this then please contact your Internet Service Provider.
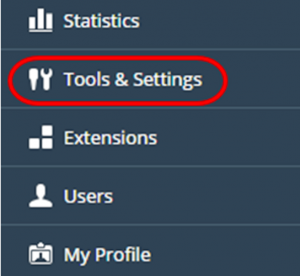
Step 1-From within your Plesk control panel and select Tools & Settings from the Server Management section of the left navigation bar.
Step (2)-From the list of options under the Security section, select Restrict Administrative Access.
Step (3)-Click Settings and you are given the option to allow or deny access to a single IP or an entire network.
Before adding a new network, make sure that the correct option is selected.
- Selecting Allowed, excluding the networks in the list. Will allow connections to the panel from all locations besides the networks that you add.
- Selecting Denied from the networks that are not listed. Will limit access to only the networks that you specify.
- Select the option you wish to use and click OK.
Step (4)-Select the option Add New Network.
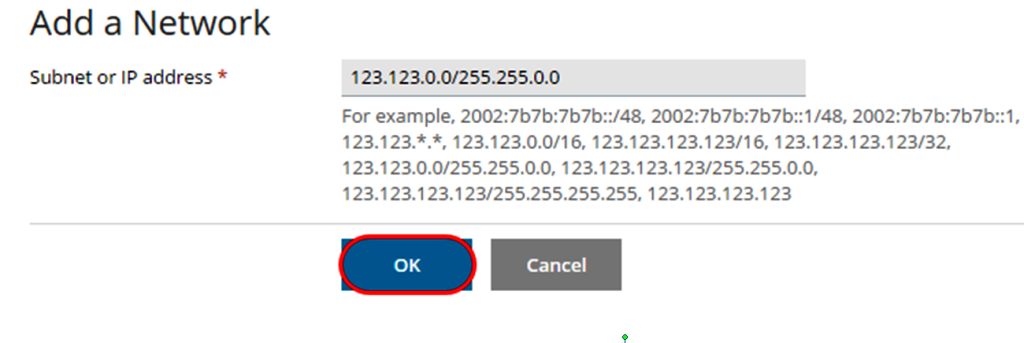
Step (5)-In the box labelled Subnet or IP address enter the IP of the network that you wish to either deny or allow, followed by its subnet mask.
Click OK to add the rule; this will now be listed in the Networks section:


