
- Navigate to the Advanced tab of your cPanel and click on LiteSpeed Web Cache Manager.
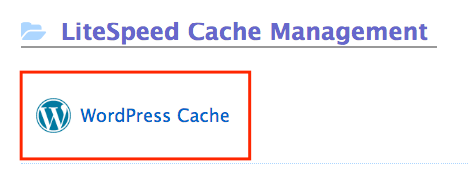
- click WordPress Cache.
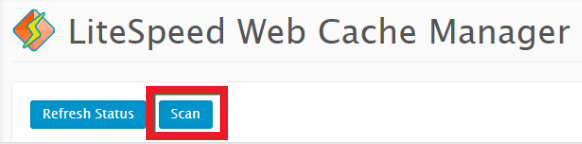
- You will be redirected to the LiteSpeed Web Cache Manager menu. Press the Scan button to find all the WordPress installations present in your account.
- Find your domain in the list of detected WordPress installations and press Disable.
- You will see the cache status change to Disabled. It can be enabled again at any time by clicking on Enable.
- Additionally, you can use the Flag option once the LiteSpeed plugin is enabled or disabled for the website to prevent it from being enabled or disabled during server-wide changes. If you need to remove the flag, press Unflag.