- Log in to WHM Panel.
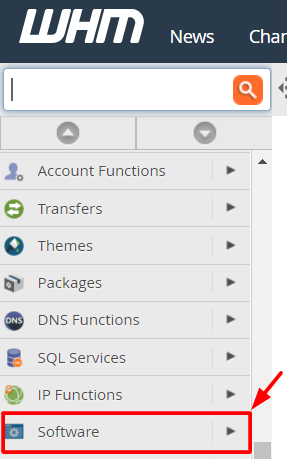
- Select the Software option.

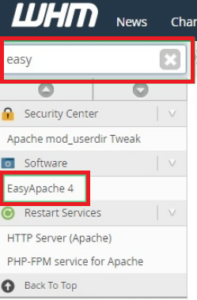
- Click on EasyApache 4.

- You will see the interface of EasyApache 4. In the Currently Installed Packages section, click on the customize button.
- Various customization options will appear. Click on PHP Versions.

- PHP Extensions that are presently used by other PHP versions.
- the PHP version to install it on your server. Click the blue button that will appear as shown in the screenshot and click Next.

- WHM/cPanel will also check for PHP Extensions that are presently used by other PHP versions.
- To Install PHP Extensions from the WHM Panel.
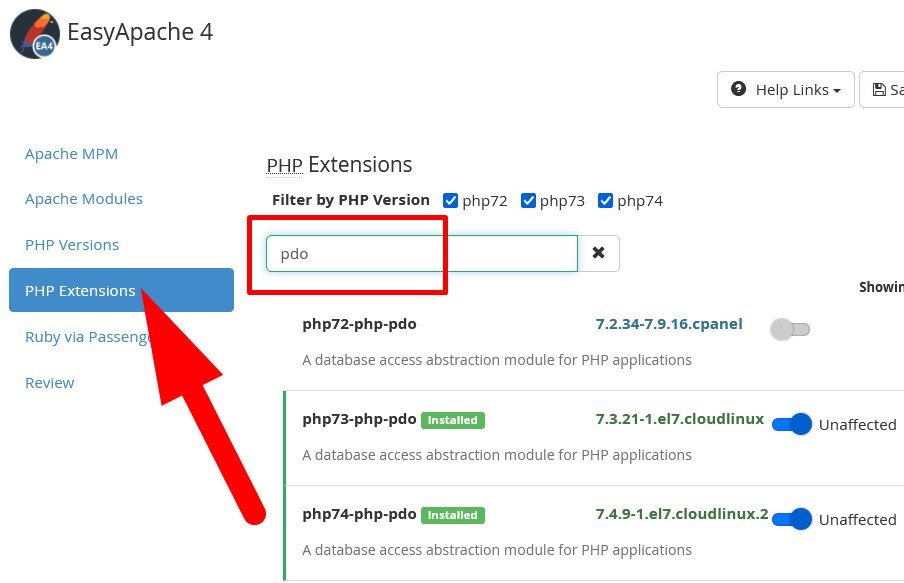
- Click the PHP Extensions menu.

- Click on the toggle button next to the extension to install it on your domain.
- After you select the extensions to install, click on Next.

- Now, choose the Review option.

- Scroll down and click on the Provision button.

- The provisioning process is complete will flash on-screen. When it does, click the Done button.
- you will have successfully installed PHP versions & PHP Extensions on your cPanel/WHM Server.
- To Assign a PHP Version to a Domain.
- Go back to Home and select the Software option.

- Click on MultiPHP Manager.
- Go to User Domain Settings. To assign a new PHP version for a domain, click on the version in its PHP Version column.

- Choose the required PHP version from the dropdown list and click on Apply.

- PHP version installed on your WHM server to your domains.
