
- Sign in to the Google account and click the settings gear icon.
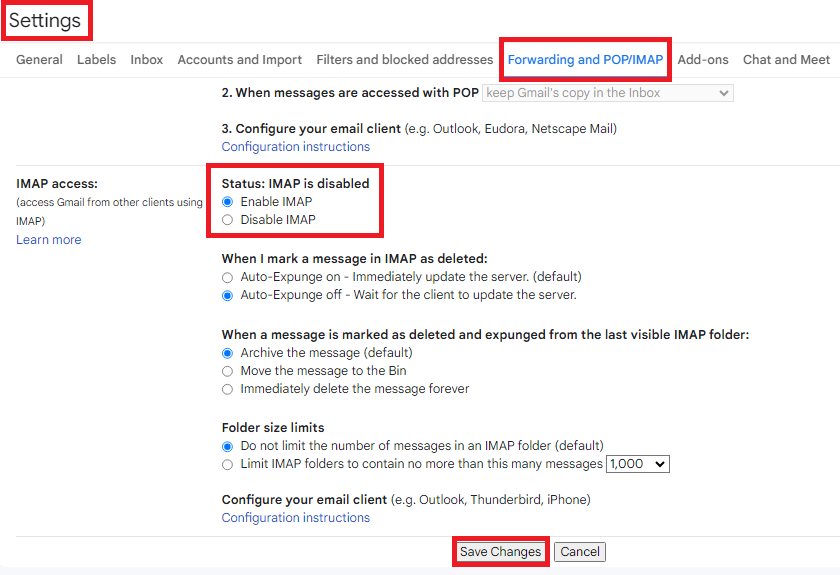
- In the next step, go to the ‘Forwarding and POP/IMAP’ tab and double-check if IMAP is enabled.
- If you notice IMAP is disabled, click on Enable IMAP and then click on Save Changes.
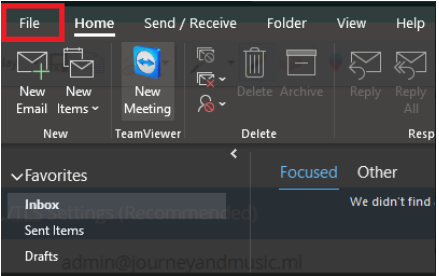
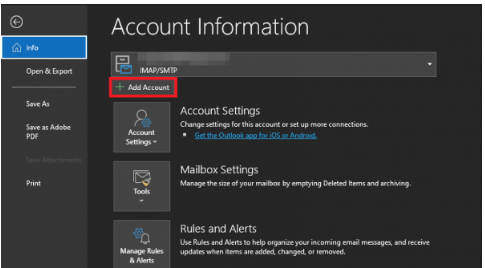
- Open Outlook and go to the ‘File‘ option in the toolbar. Then, click on the ‘Add Account‘ button.
- Select the ‘Manual setup or additional server types’ option, and then click ‘Next’.
- Tick ‘IMAP‘ option and click ‘Next‘
- In ‘Your Name’ enter a friendly name that you want the recipients of your email to see.
- In ‘Email Address,‘ enter the appropriate email address
- The ‘Account Type’ should be set to IMAP
- The ‘Incoming mail server’ should be set to – imap.gmail.com
- The ‘Outgoing mail server (SMTP)’ should be set to – smtp.gmail.com
- In ‘Username,’ enter your standard username
- Functional Account’s username is the same as their email address
- Enter ‘Password’, password generated from this
- Go to your Google Account And open manage your google account settings.
- Navigate to the ‘Security’ section
- ‘make sure 2-Step Verification enabled’
- Click on ‘App passwords’
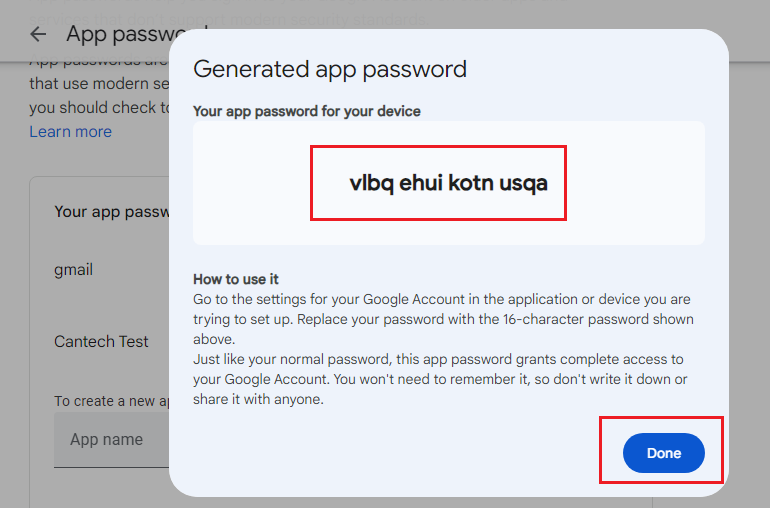
- Click ‘Generate’ to create the password.
- Enter the generated app password.

- Make sure that ‘Remember Password’ is ticked
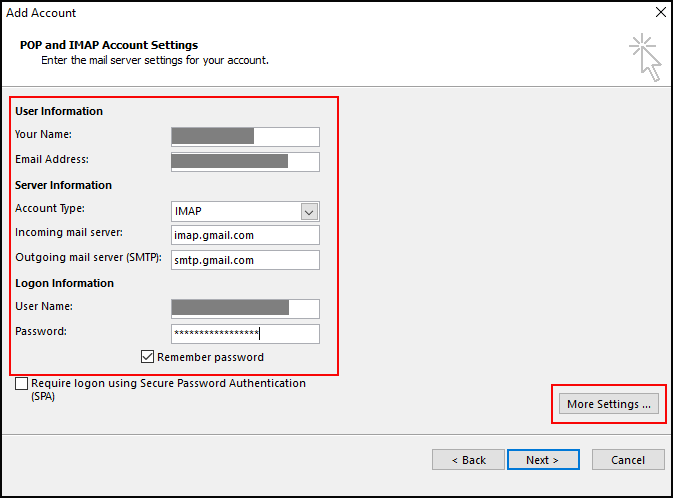
- Click on ‘More Settings’
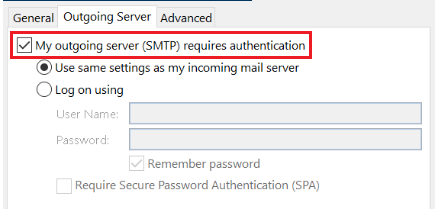
- Click on the ‘Outgoing Server’ tab
- Check the box for ‘My outgoing server (SMTP) requires authentication’
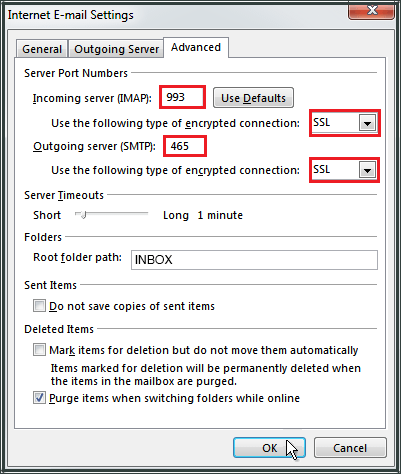
- Click on the ‘Advanced’ tab
- Select ‘SSL’ from the drop-down menu next to ‘Use the following type of encrypted connection’ under IMAP.
- Select ‘SSL’ from the drop-down menu next to ‘Use the following type of encrypted connection’ under SMTP.
- In ‘Outgoing server (SMTP)’, enter 465
- Click ‘OK’
- Click ‘Next’
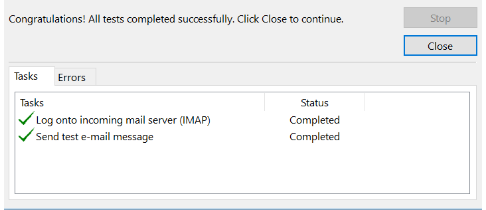
- If the Test Email ran successfully, click ‘Close’
On the last window, click ‘Finish’ to complete the setup, or ‘Add another account’ if you want to add additional accounts.