
- Log in to WHM
- Navigate to the Security Center in the menu options.
- Select “ModSecurity Vendors.”
The Manage Vendors page will appear.
- Install the “OWASP ModSecurity Core Rule Set VX.X” version from the vendor by clicking on +install.
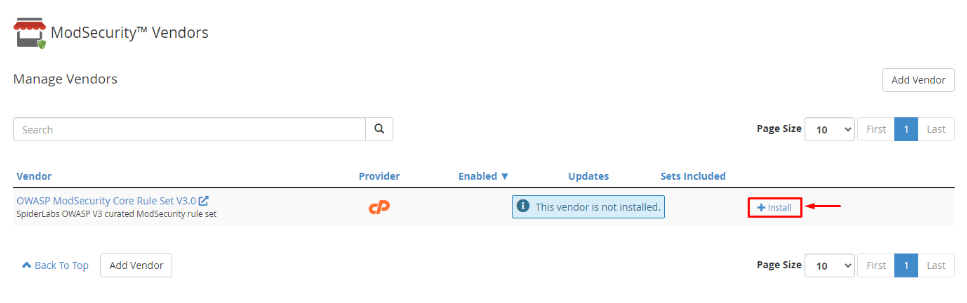
- Select the “Install and Restart Apache” button.
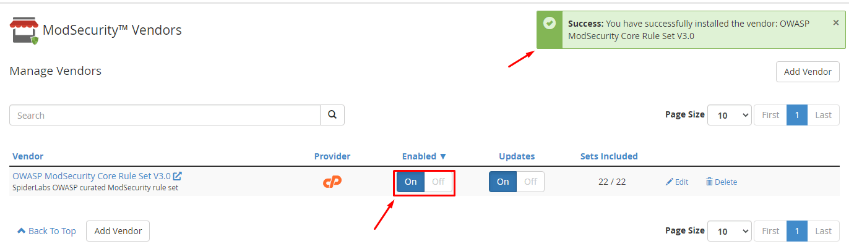
- The system will display a success message: “You have successfully installed the vendor: OWASP ModSecurity Core Rule Set VX.X.”
- Turn on the toggle button in the Enabled column.
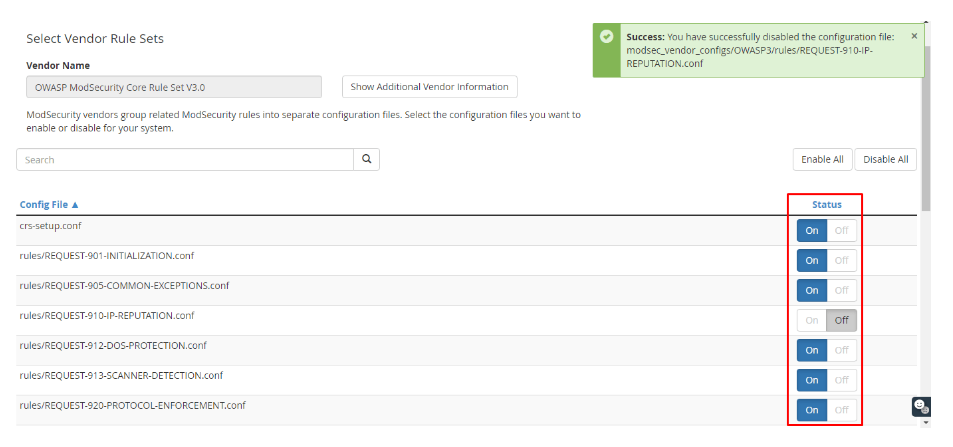
- Customize the sets included in the ModSecurity application for the vendor:
- Select “Edit.”

- Adjust the status of any sets to On or Off based on your preferences.
Now, you need to activate the ModSecurity feature for your cPanel accounts.
To Enable ModSecurity for cPanel Accounts:
- Return to the home page of the interface.
- Choose the “Packages” option from the navigation menu.
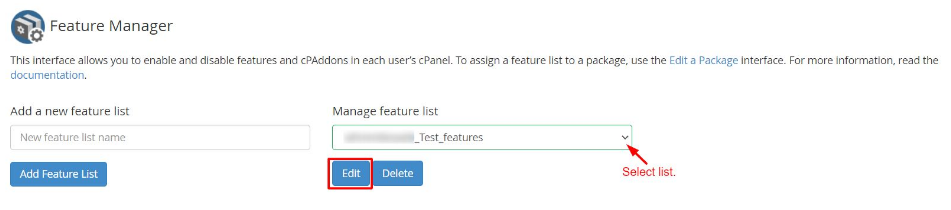
- Access the Feature Manager.
You have two options here:
- Add a new features list: Create a new feature list from the beginning and apply it to a cPanel account.
- Manage feature list: Add the ModSecurity Domain Manager feature to the existing list you are currently using for a cPanel account.
Let’s choose the second option.
- Click the “Edit” button under the Manage feature list.
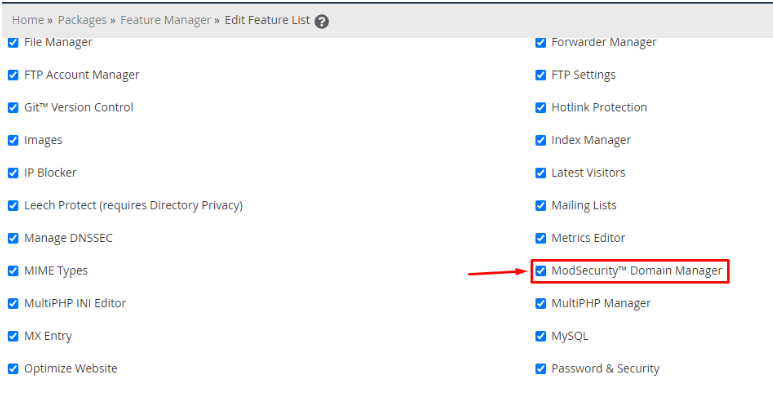
- The list of all available features for your server will be displayed.
- Check the box for the ModSecurity Domain Manager feature.
- Scroll down and click the Save button.